Android : Content Provider Implementation
Unlocking the Power of Android's Content Providers: A Step-by-Step Guide
R
Senior Android Engineer from Bangladesh. Love to contribute in Open-Source. Indie Music Producer.
Search for a command to run...
Unlocking the Power of Android's Content Providers: A Step-by-Step Guide
Senior Android Engineer from Bangladesh. Love to contribute in Open-Source. Indie Music Producer.
No comments yet. Be the first to comment.
In this series, I will write about Android App Development.
Executes a coroutine with configurable dispatchers for subscription and observation.
A practical guide to choosing the right coroutine primitive for your Android/Kotlin projects
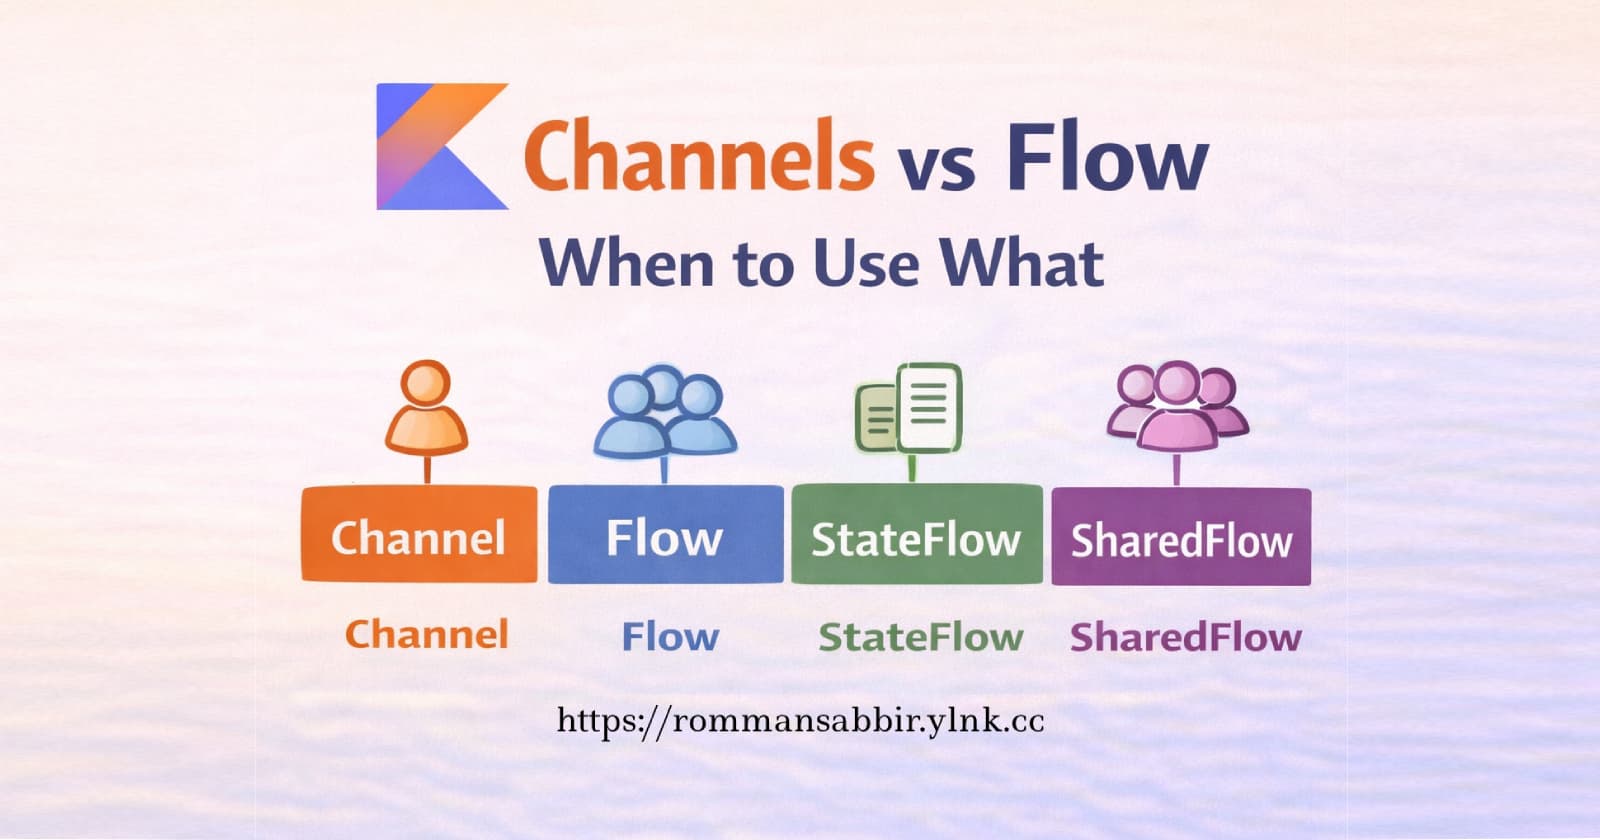
This guide explains what Channels are, when to use them, how to use them correctly, and when NOT to use them — in simple, professional language. 1. What problem do Channels solve? In Kotlin coroutines, you often have multiple coroutines running at t...
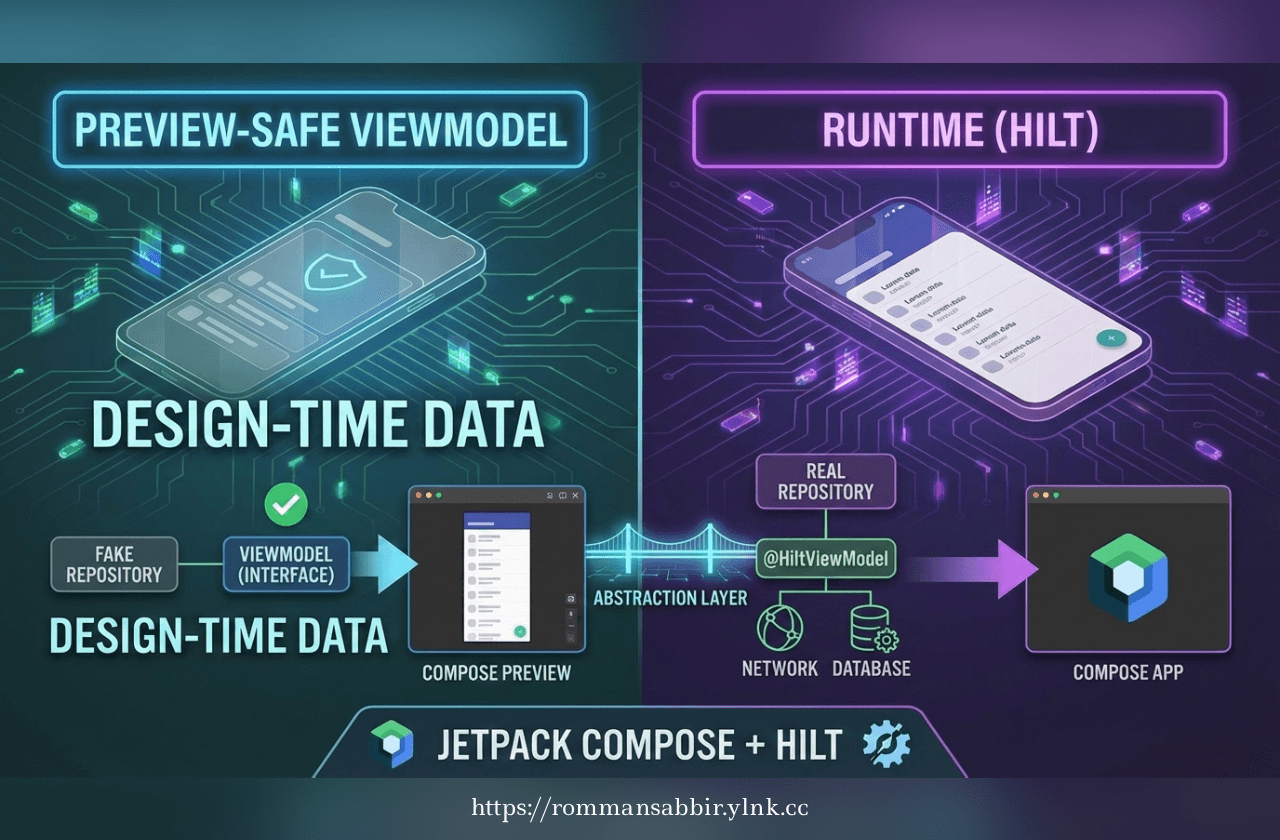
Learn how to build preview-safe ViewModels in Jetpack Compose using Hilt.
HandlerInterceptor vs Filter in Spring Boot: A Practical Guide with JNDI Injection Prevention

Simple In-Memory Caching: A Tiny Trick with Massive Impact

Basic about Content Provider.
Creating our own Content Provider is a powerful way to share data stored in our app with other apps securely. In this section, we'll create a custom Content Provider that uses SharedPreferences as a data storage mechanism and demonstrate how to access this data from other apps.
First, create a new Kotlin class for your custom Content Provider. In this example, let's call it MyContentProvider. Our custom Content Provider class should extend the ContentProvider class and override essential methods like onCreate(), query(), insert(), update(), and delete().
class MyContentProvider : ContentProvider() {

    private lateinit var sharedPreferences: SharedPreferences

    override fun onCreate(): Boolean {
        context?.let {
            sharedPreferences = it.getSharedPreferences("my_prefs", Context.MODE_PRIVATE)
        }
        return true
    }

    override fun query(
        uri: Uri,
        projection: Array<String>?,
        selection: String?,
        selectionArgs: Array<String>?,
        sortOrder: String?
    ): Cursor? {
        // Implement query logic to retrieve data from SharedPreferences
        // We can use the uri and projection to determine what data to fetch
        // and return the results as a Cursor
        // ...
        return null
    }

    override fun insert(uri: Uri, values: ContentValues?): Uri? {
        // Implement insert logic to store data in SharedPreferences
        // We can use the uri and values to determine where to store the data
        // ...
        return null
    }

    override fun update(
        uri: Uri,
        values: ContentValues?,
        selection: String?,
        selectionArgs: Array<String>?
    ): Int {
        // Implement update logic to modify data in SharedPreferences
        // We can use the uri and values to determine what to update
        // ...
        return 0
    }

    override fun delete(uri: Uri, selection: String?, selectionArgs: Array<String>?): Int {
        // Implement delete logic to remove data from SharedPreferences
        // We can use the uri to determine what to delete
        // ...
        return 0
    }

    override fun getType(uri: Uri): String? {
        // Return the MIME type for the data associated with the given URI
        // ...
        return null
    }
}
To make our custom Content Provider accessible to other apps, we need to declare it in our app's AndroidManifest.xml file. Add the following lines inside the <application> element:
<provider
    android:name=".MyContentProvider"
    android:authorities="com.rommansabbir.cpexample.package.mycontentprovider"
    android:exported="true">
</provider>
Replace com.rommansabbir.cpexample.package with our app's actual package name.
Now, let's see how another app can access data from our custom Content Provider.
val uri = Uri.parse("content://com.rommansabbir.cpexample.package.mycontentprovider/some_data")
val projection = arrayOf("key1", "key2")

val cursor = contentResolver.query(uri, projection, null, null, null)

if (cursor != null && cursor.moveToFirst()) {
    val key1Value = cursor.getString(cursor.getColumnIndex("key1"))
    val key2Value = cursor.getInt(cursor.getColumnIndex("key2"))
    // Use the retrieved data in the other app
    cursor.close()
}
In this example, we access data from our custom Content Provider using a URI with the authority we specified in the AndroidManifest.xml file and the desired path ("some_data" in this case). The projection array specifies which data columns to retrieve.
To store data in our custom Content Provider from another app, we can use the insert() method. Here's an example:
val uri = Uri.parse("content://com.your.app.package.mycontentprovider/some_data")
val values = ContentValues().apply {
    put("key1", "Some value")
    put("key2", 42)
}

val insertedUri = contentResolver.insert(uri, values)
This code inserts data into our custom Content Provider under the specified URI ("some_data" in this case).
With these steps, we've created a custom Content Provider that uses SharedPreferences for data storage and demonstrated how to access and modify that data from other apps. Remember to handle data storage and retrieval logic within the Content Provider's query(), insert(), update(), and delete() methods according to our app's requirements.
That's it for today. Happy Coding...